Using the Glyphs Panel in Illustrator Layers Magazine
Using glyphs in Illustrator adds a layer of creativity to your projects. Instead of relying solely on standard characters, you can incorporate visually appealing elements that help your designs stand out. Glyphs are particularly useful when you're aiming for a personalized, artistic, or elegant touch in your typography and graphics..
What is Snap to Glyph? Illustrator Tutorial Graphic Design
Open the Adobe Illustrator folder, and you will find a subfolder called "Fonts.". Step 3: Copy and Paste the Font Files. Go back to the folder where the downloaded font files are saved. Select the font files that you want to add to Adobe Illustrator by holding down the Ctrl (or Command) key and clicking on each file.
How to access glyphs in Adobe Illustrator Tutorial YouTube
Are you struggling to use glyphs and extra glyphs in Illustrator? 😒 Want to know how to access glyphs in Illustrator? In this handy guide we show you the qu.
How To Use Font Glyphs In Illustrator Tutorial Graphicxtras YouTube
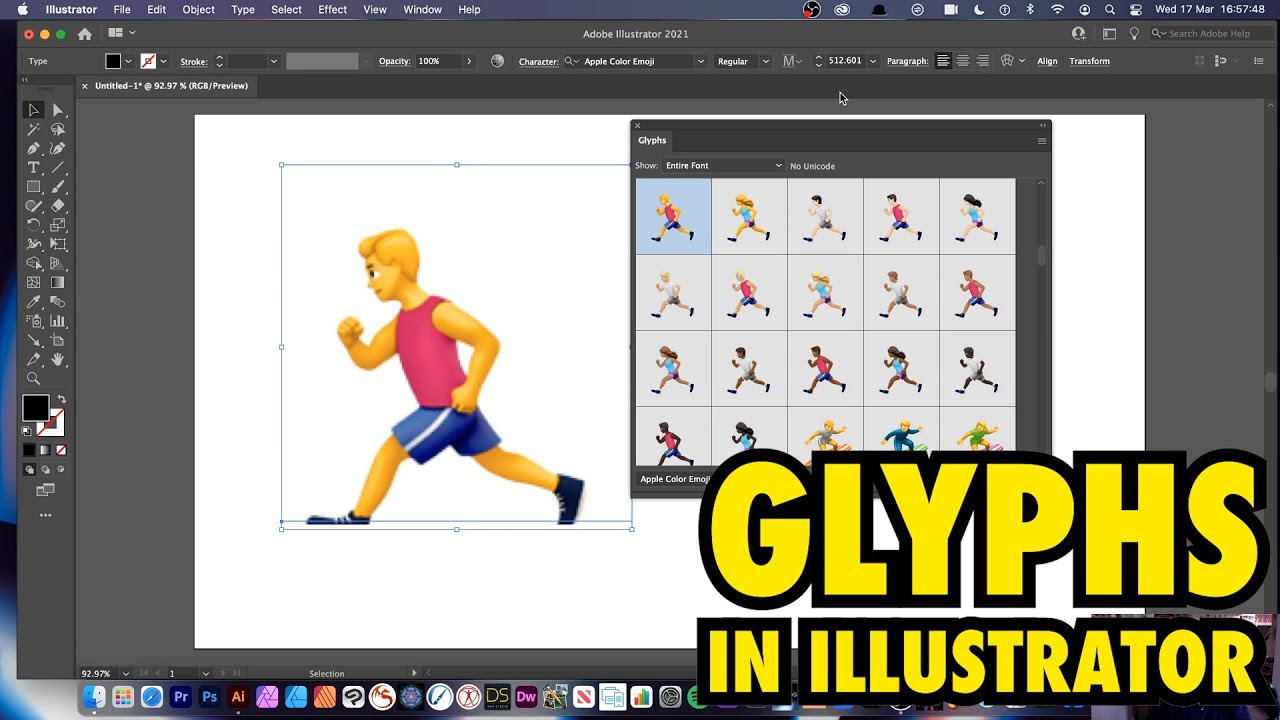
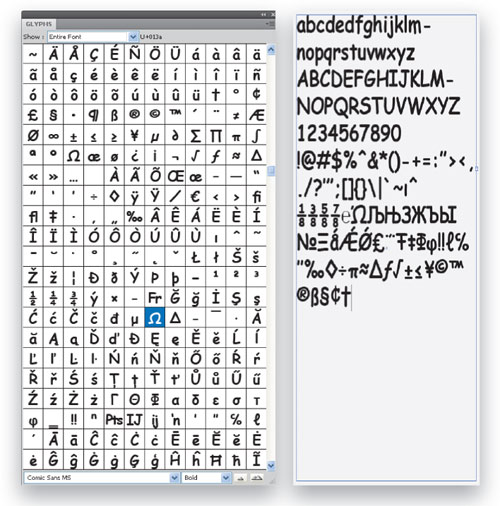
The Glyphs panel in Illustrator is the place to locate font objects, from normal characters to the special symbols. Whatever font you have selected when you open the glyphs panel is the menu that will be displayed. Fortunately, you do not have to keep exiting the Glyphs panel every time you would like to see the glyphs for another font or see.

How to use Glyphs in Adobe Illustrator Design Bundles
Using the Type tool, position the insertion point where you want to insert a character. Choose Type > Insert Special Character, and then select an option from any of the categories in the menu. If special characters that you use repeatedly do not appear on the list of special characters, add them to a glyph set that you create.

What is Snap to Glyph? Illustrator Tutorial Graphic Design
A glyph is a specific form of a character. For example, in certain fonts, the capital letter A is available in several forms, such as swash and small cap. There are three ways to insert alternate glyphs: The Selection in-context menu lets you view and insert glyphs available for a selected character.

How to Use Font Glyphs in Adobe Illustrator YouTube
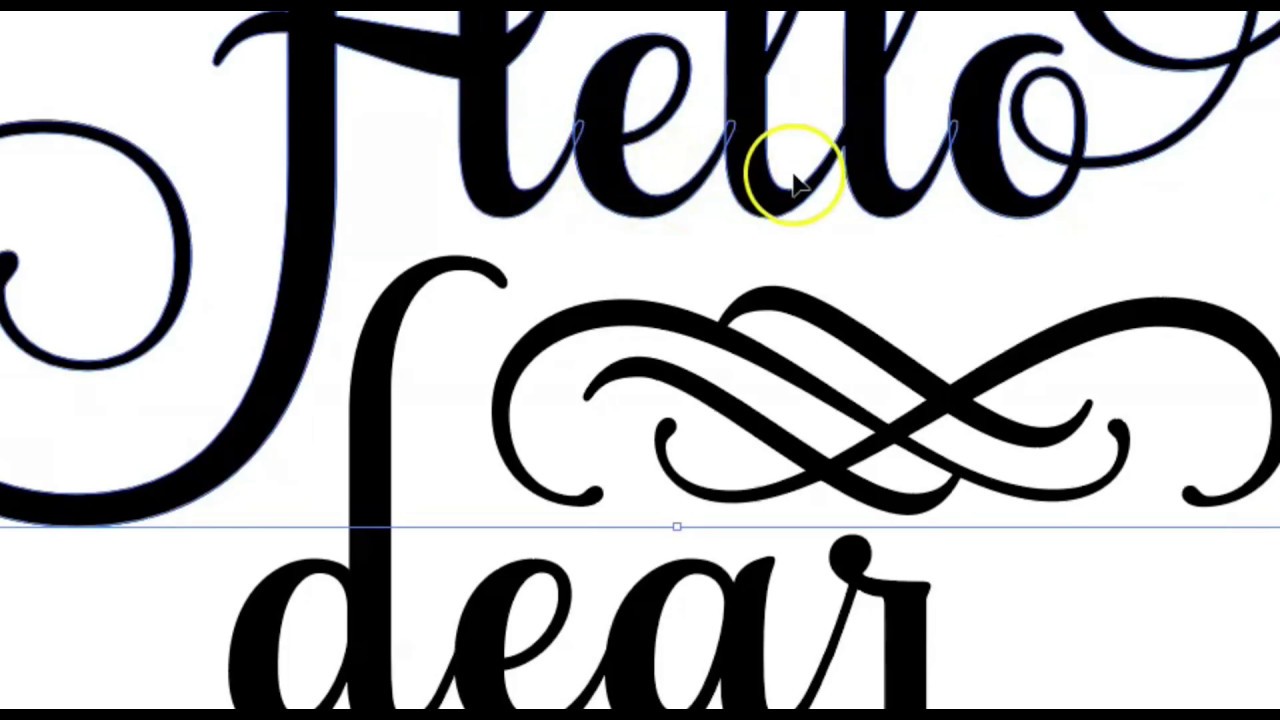
Written By Jenny Lee So, you're a designer or illustrator. Or you just really love typography. Or your own handwriting. Have you always wanted to create your own font? Here's how to create a hand-lettered font from start to finish using Adobe Illustrator and Glyphs.

How to Use Alternate Glyphs in Illustrator Kelly Leigh Creates
7. If you're seeing this character ☒, most likely the typeface you are using does not have that glyph in its character set, or has it assigned to a different unicode number. In which case you need to use a different typeface that actually has the ∝ character or look at the glyphs panel. Otherwise yes, assuming a typeface has a particular.

How to use Glyphs in Adobe Illustrator Design Bundles
You can do it in Adobe Illustrator or directly in Glyphs App. You can either use digital tracing or draw the outlines and shapes with the pen tool. Adobe Illustrator: scan or take a photo of your drawing and lock it in a background layer. Start drawing new outlines around it with the pen tool.
Using Font Glyphs in Adobe Illustrator Design Bundles
Maybe you could use something from there. Try Zapf Dingbats for starters. But InDesign can. So if you have both, you can create a graphic in Illustrator and paste it into text in InDesign. If you want you can copy that text object from InDesign and paste it into Illustrator.
How to Use Font Glyphs in Adobe Illustrator YouTube
Using Glyphs in Adobe Illustrator. Open up Illustrator and start by using the text tool to type your word. I'm using the same word ("ethereal") and the same font ( Heartbeat Script) as I did in my Design Space tutorial, so you can directly compare. Open up the Glyphs menu by going to the top toolbar, Window > Type > Glyphs.

How to work with special characters in Illustrator
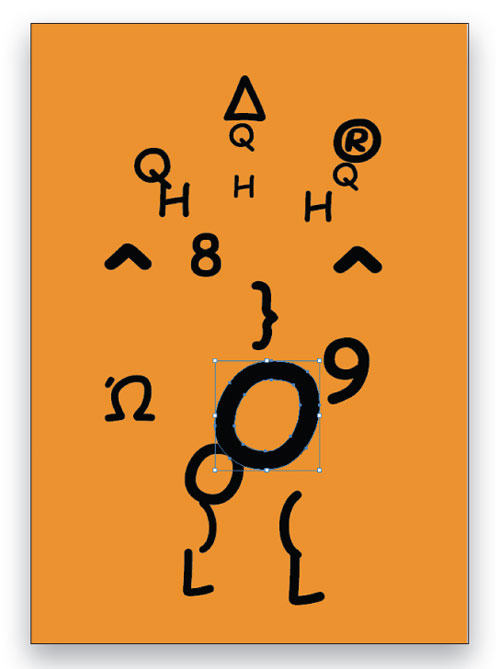
Choose File>New to create new A4-sized document. For maximum efficiency when designing our font monster, you'll want the Pathfinder panel (Window>Pathfinder), Swatches panel (Window>Swatches), and Glyphs panel (Window>Type>Glyphs) open and within easy reach. Click-and-drag each panel to the left of the artboard and arrange them into a single.

112 Using glyphs panel Adobe Illustrator Tutorials For Beginners to Advanced YouTube
Last updated on Learn how to snap and draw objects precisely around the boundary of live glyphs. The Snap to Glyph feature lets you snap your artwork components precisely with the text without creating outlines or reference guides.

How to use Glyphs in Adobe Illustrator Design Bundles
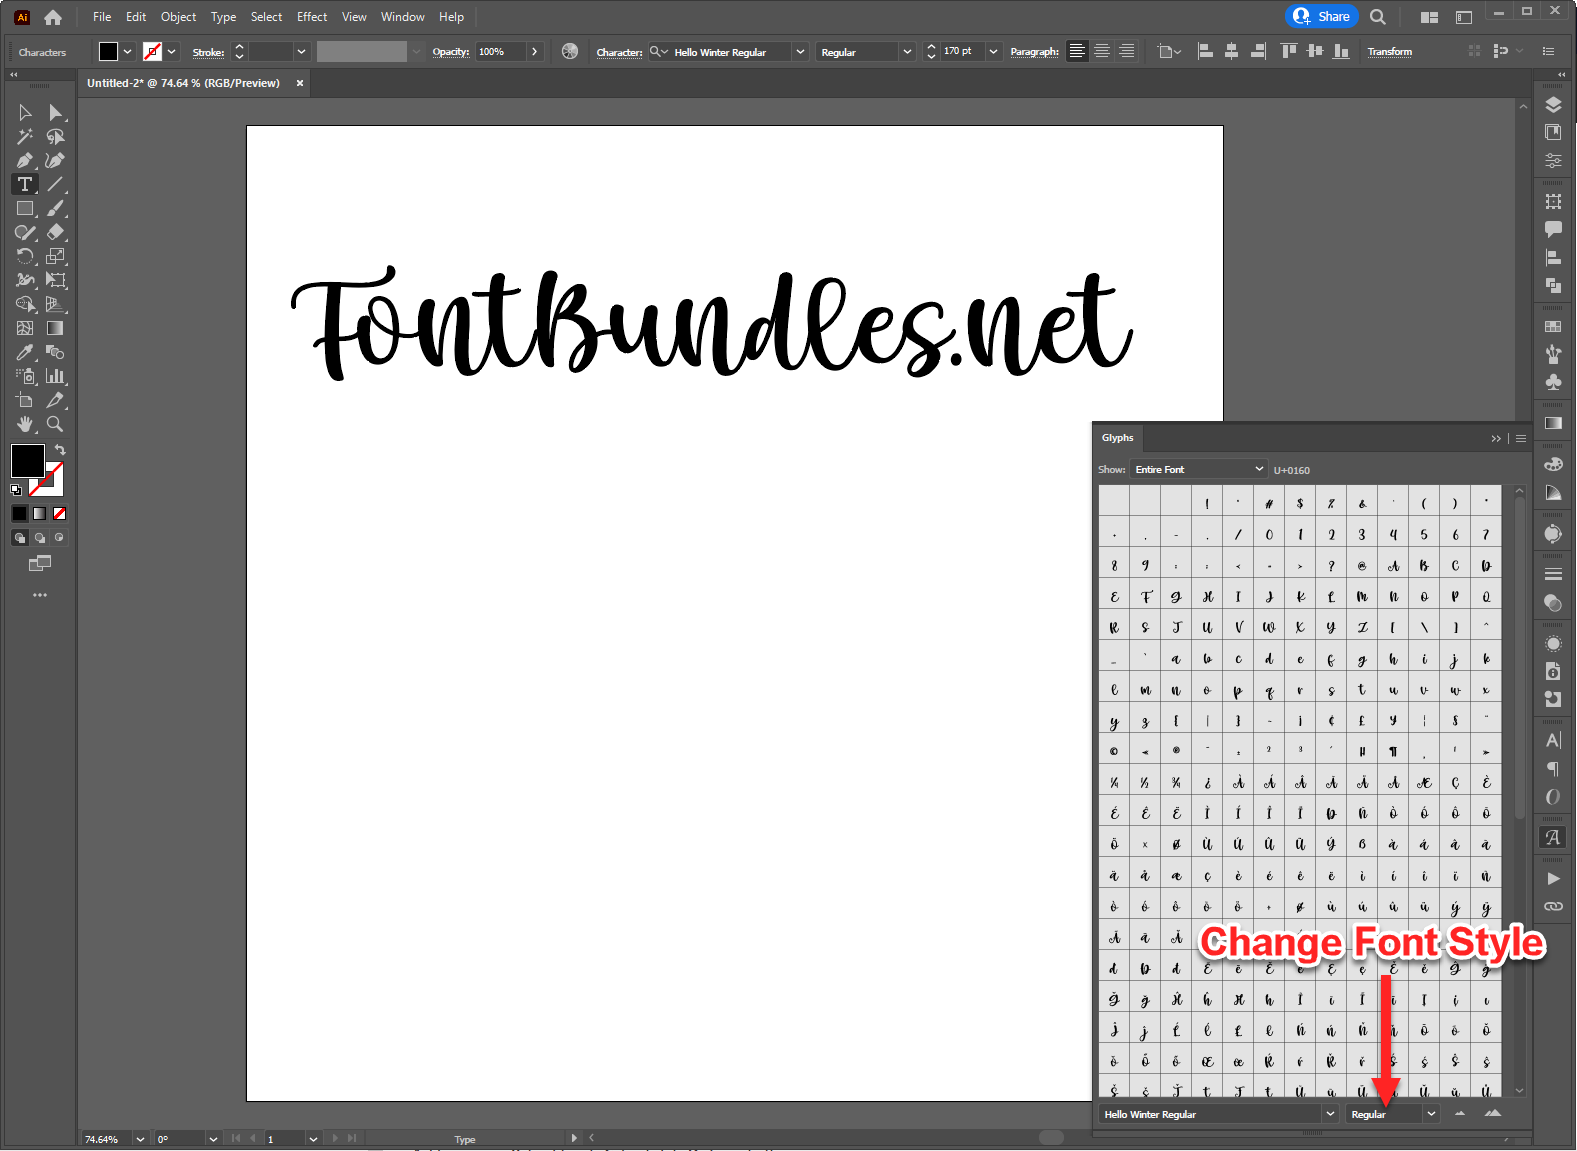
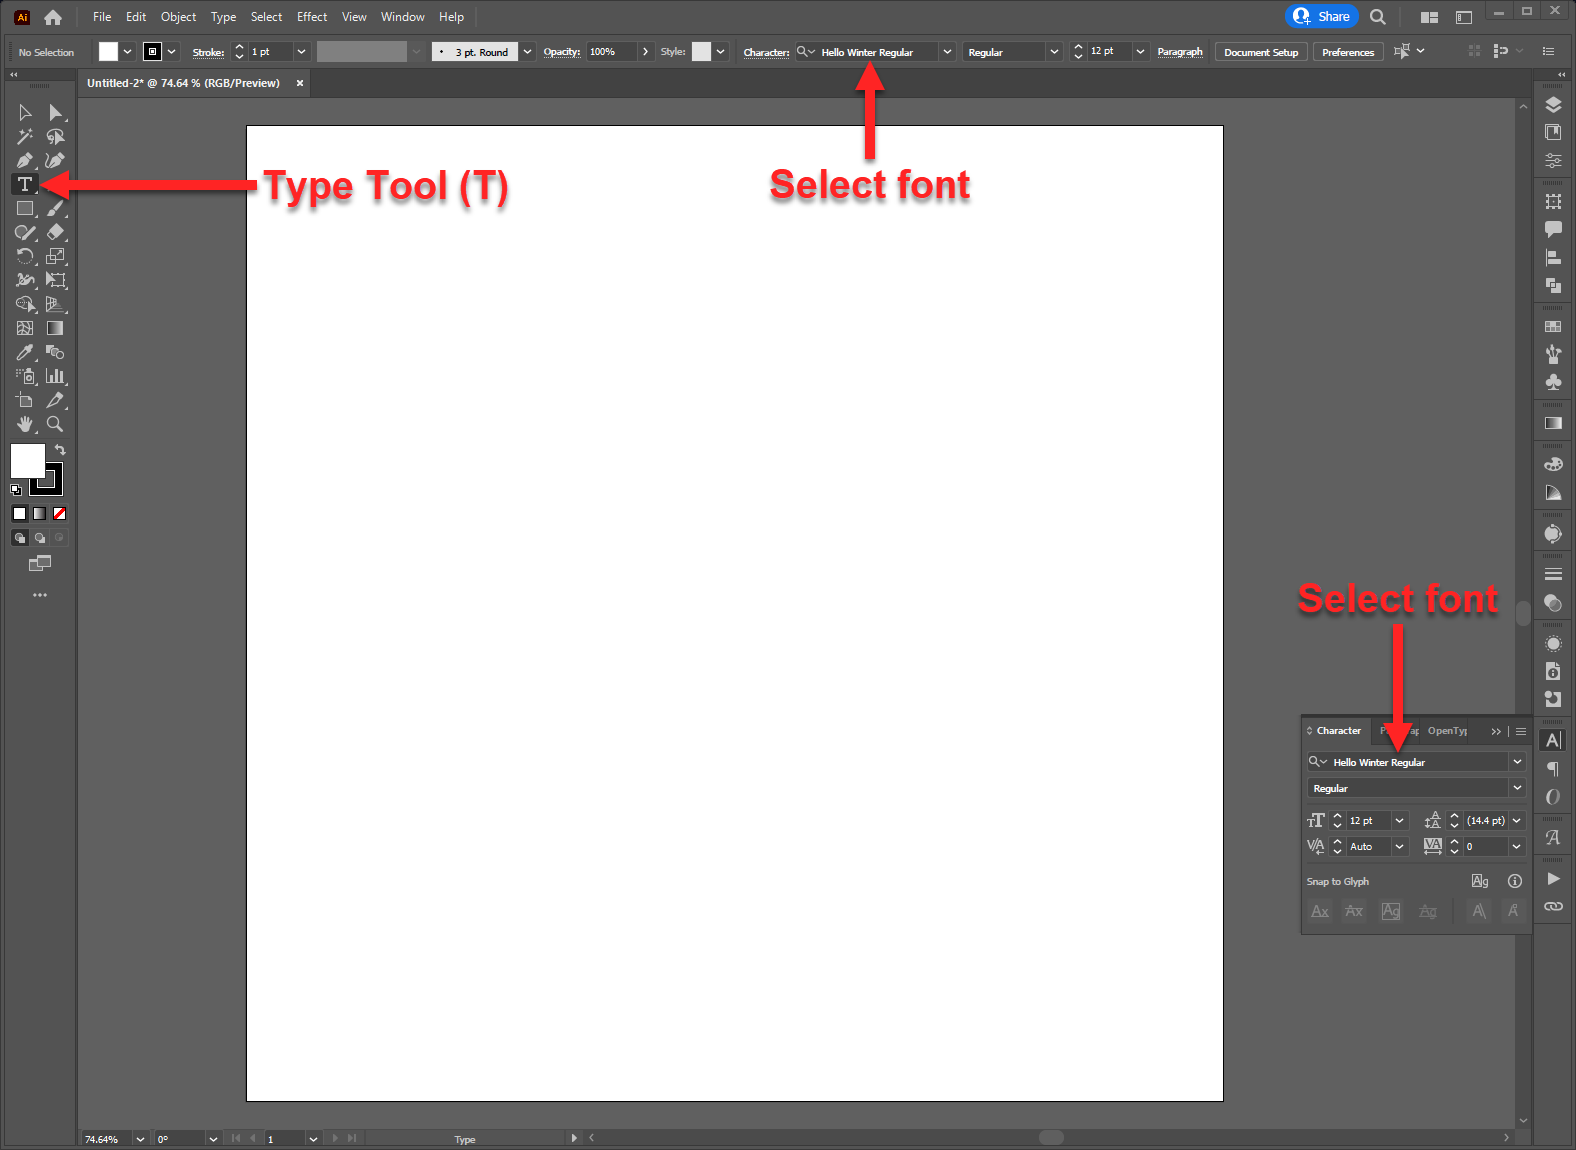
Step 1 - Select Type Tool Select the Type Tool (T) and choose your font from the Set Font Family dropdown in the Control panel or the Character panel. Step 2 - Add or Replace Glyphs There are a couple of ways to use glyphs. You can add new glyphs to your text or replace parts of the existing text. Add Glyphs Using the Glyphs Panel
Using the Glyphs Panel in Illustrator Layers Magazine
12 Share 1.4K views 3 years ago #typography #opentype In this 2 minute type tip I teach how to access all the glyphs/characters that your fonts have and how this feature can improve your designs..
Using Font Glyphs in Adobe Illustrator Design Bundles
One point in Illustrator corresponds to one unit in Glyphs. By default, one unit is a thousandth of an em. Or more precisely, whatever you have set your UPM (units per em) value to in the Font Info (Cmd-I). A full em is whatever you set your font size to later on. This means that, by default, your Illustrator drawings are most likely too small.